
Internet of Things, The latest trainings
ESP8266 IoT Relay Control: Upload Code & Go Live
Feb
In this final session of our IoT relay control project, we focus on uploading the complete code to the ESP8266 microcontroller and making the system fully functional. This step is crucial to connect your web interface with the 5-channel relay module, allowing seamless IoT device control over the internet.
By the end of this tutorial, your ESP8266 will be ready to control multiple relays remotely, making your smart home or automation project operational.
Watch the full tutorial in the video below
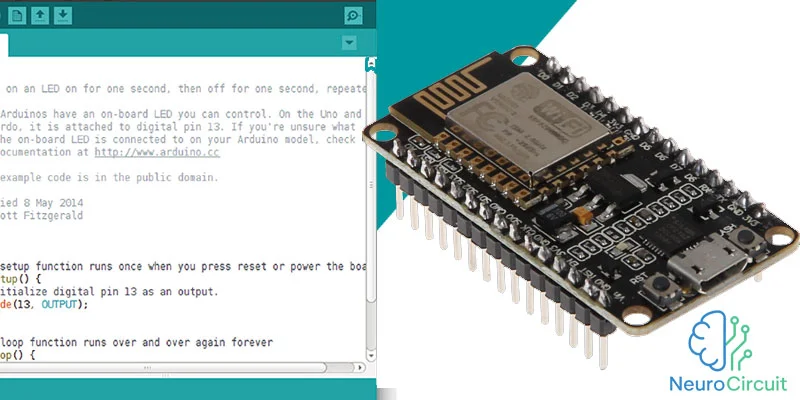
Step 1: Preparing Your ESP8266
Before uploading the code, ensure that:
-
You have installed the Arduino IDE and added ESP8266 board support.
-
All necessary libraries for relay control and WiFi connectivity are installed.
-
Your ESP8266 is connected to your computer via a reliable USB cable.
Proper preparation ensures smooth code upload without errors.
Step 2: Writing and Reviewing the Code
The project code should include:
-
WiFi credentials for network connection
-
HTTP server for web control
-
GPIO pin mapping for each relay channel
-
Functions for ON/OFF control via web buttons
Double-check pin numbers and relay wiring to prevent hardware issues. Using comments in the code improves readability and future maintenance.
Step 3: Uploading the Code
To upload the code to your ESP8266:
-
Select the correct board type in Arduino IDE (e.g., NodeMCU 1.0).
-
Choose the correct COM port connected to your ESP8266.
-
Click Upload and wait for the process to complete.
Once uploaded, the ESP8266 will automatically connect to your WiFi and start serving the control web page.
Step 4: Testing the IoT Relay System
After uploading, test your system carefully:
-
Open the web interface in a browser using the ESP8266’s IP address.
-
Toggle each relay ON and OFF to ensure proper functionality.
-
Check the relay module for correct switching and response times.
This testing step confirms that your IoT relay controller is working perfectly with the web dashboard.
Step 5: Applications and Next Steps
This ESP8266 IoT relay project can be applied to:
-
Smart home automation
-
Remote appliance control
-
Greenhouse or hydroponic system automation
-
Educational electronics projects
Once fully tested, your setup can serve as a base for more advanced IoT projects, including scheduling, sensor integration, and mobile notifications.
Conclusion
Uploading the complete code to ESP8266 and finalizing your IoT relay controller project is the key step to make your system functional and reliable. With a tested web interface and correctly configured relays, your automation project is ready for real-world use.
Start simple, test thoroughly, and gradually expand your IoT control capabilities.
| Click here to download the project code |